Photography
How to Bokeh
Bokeh how to 07
Bokeh how to 11
Bokeh ay, I've been meaning to try it out for over a year, and now I've finally cracked it. It was much easier and much more fun than i first imagined. I'm not at all skilled with manual photography, and this was relatively easy for me.Bokeh is a work used to describe two things:1. Photographing something in crisp focus with the background blurred (bit boring)2. The exciting kind, where you photograph lights using a lens cut into a shape, i.e. hearts, triangles, lightening bolts, arrows and each separate light becomes that shape.The type of Bokeh I've experimented with is the second kind, and I make this the focus of my images. Most bokeh has the focus on an object in the foreground, but I just love the light being in different shapes, and got a bit carried away with this. I'll call it 'level 1 bokeh'!So I made a tutorial of how you make your own Bokeh lens:Here's what you need: your camera, masking tape, a scalpel, scissors, thin cardboard (half a cereal box is perfect) and a pencil1. Draw around the lens of your camera2. Cut the circle out, leaving 1/2 an inch of extra circumference3. Then use the cardboard to cut a seperate 2-inch wide strip of cardboard which will fit around the side of your lens, leaving 1/2 an inch spare of length at the end. Tape this to the lens using the masking tape, then slide off4. Pick up the circle, and cut into that 1/2 an inch of extra circumference, creating a bit of a frill/flap, all the way around, making cuts every half a centimeter or so5. Bend those frills/flaps down6. Use a scalpol to cut out a shape of some sort in the centre of the circle (ideally you'd measure where the centre is). My favorite is an arrow7. Now you attach the strip and the circle together to make your Bokeh lens. Use one bit of tape to start off with, then keep tucking the flaps in and sticking8. Work your way around the circle, until it's all tucked in and stuck down with a few pieces of tape9. Nearly there10. On the inside, stick some tape there too - to make it more of a rigid structure11. Finish off the lens by making taping over all the gaps on the outer side12. Done! Go and photograph some lights And here are the technical things:The size of the shaped hole depends on two things: the aperture of your lens and the focal length you're using.Try using these calculations, which I copied from DIY Photography.netTake the focal length that you wish to use (e.g. 100mm)Divide this by the aperture value that is smallest on your lens (e.g. f/2)Equals the largest diameter of the cut out shape (shape should be smaller than this) (50mm)So...50mm f/2 - shape must be under 25mm75mm f/2 - shape must be under 37.5mm100mm f/2 - shape must be under 50mm50mm f/2.8 - shape must be under 17.5mm50mm f/3.5 - must be under 14.2mm Other important things:
Make sure the shape you create is in the centre of the circle
The lights you shoot need to be really bright (traffic lights, car lights, city lights, amusements, street lights, carnivals, bright bulbs)
When you're focusing, make sure the lights are out of focus, otherwise the shape won't come through
If you're shooting an object infront of the bokeh lights, focus on that object with distant lights out of focus behind (a shallow depth of field)
If the image is coming out too dark, increase the time the aperture is open. This means a longer exposure, letting more light in, and the image will be brighter
Here's some more of the images I created:Fairy lightsCar brake lightsAuckland Sky tower & the city
Beach Submission to Things Organized Neatly.
Things Organized Neatly is a blog curated by Austin Radcliffe. The blog has been written about in New York Times Magazine and The Guardian (who wrote this: "Austin Radcliffe whose interest in right angles led him to curate a collection of reassuringly ordered images. Radcliffe denies having obsessive compulsive tendencies, but his site may please those who do.") The Twitter is pretty exciting too.I've been watching for a long time, and I was delighted when I was featured last year, with my Apple circle installation: 'Sense'. You can see it on the TON Tumblr.Time to submit some things I've created whilst in New Zealand. Items found at the beach, 1, 2 and 3. Made in collaboration with Eleanor Gannon EDIT:'other things we found at the beach' was featured December 2011. See it here.


Lunar Landscapes at Wai-O-Tapu
What I'm working on
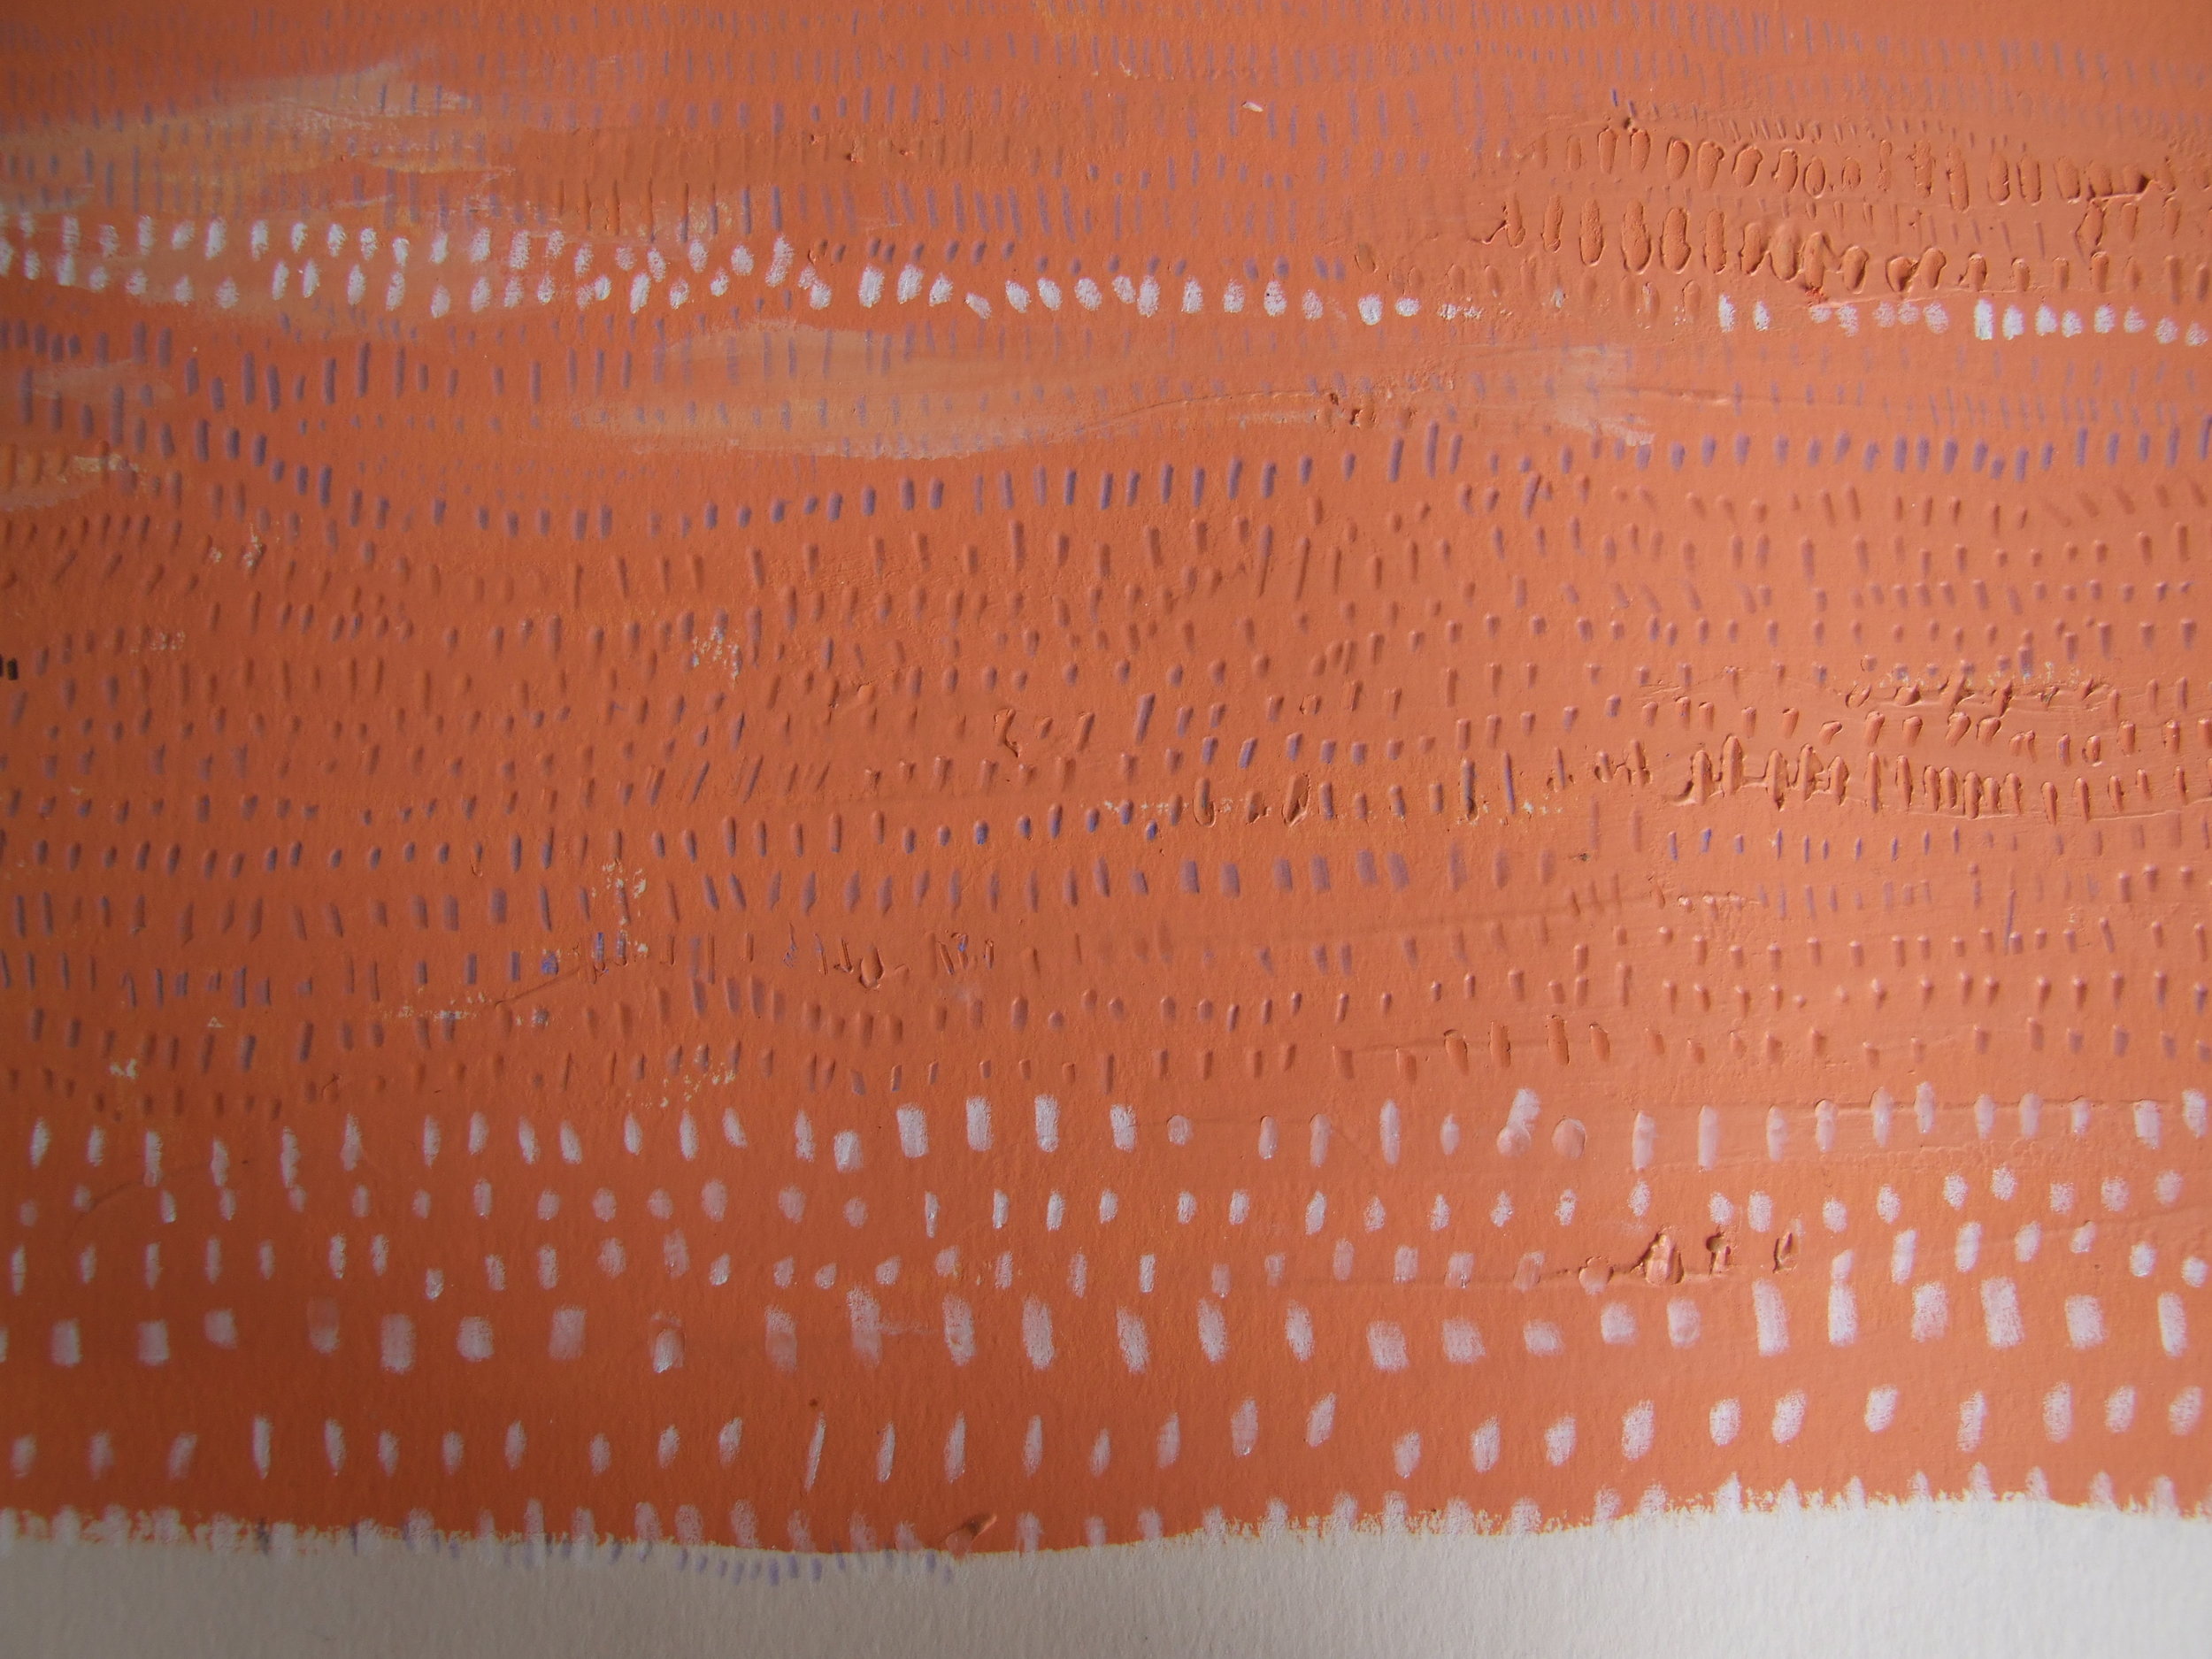 Intricate, time-consuming drawing. Using china markers, a grey/lilac colored pencil and some un-watered down water colour paint. I might say that this is the start of a project, I want to create a body of work to exhibit next year, possibly at one of the Bristol open studio events, or one of the Arts Trails. Every piece will be in the same vein as this one - an accumulation and a collection of hours, doing the drawings little and often, each piece will hold around ten hours of my time, spread over around a month. Little and often. Little and often.
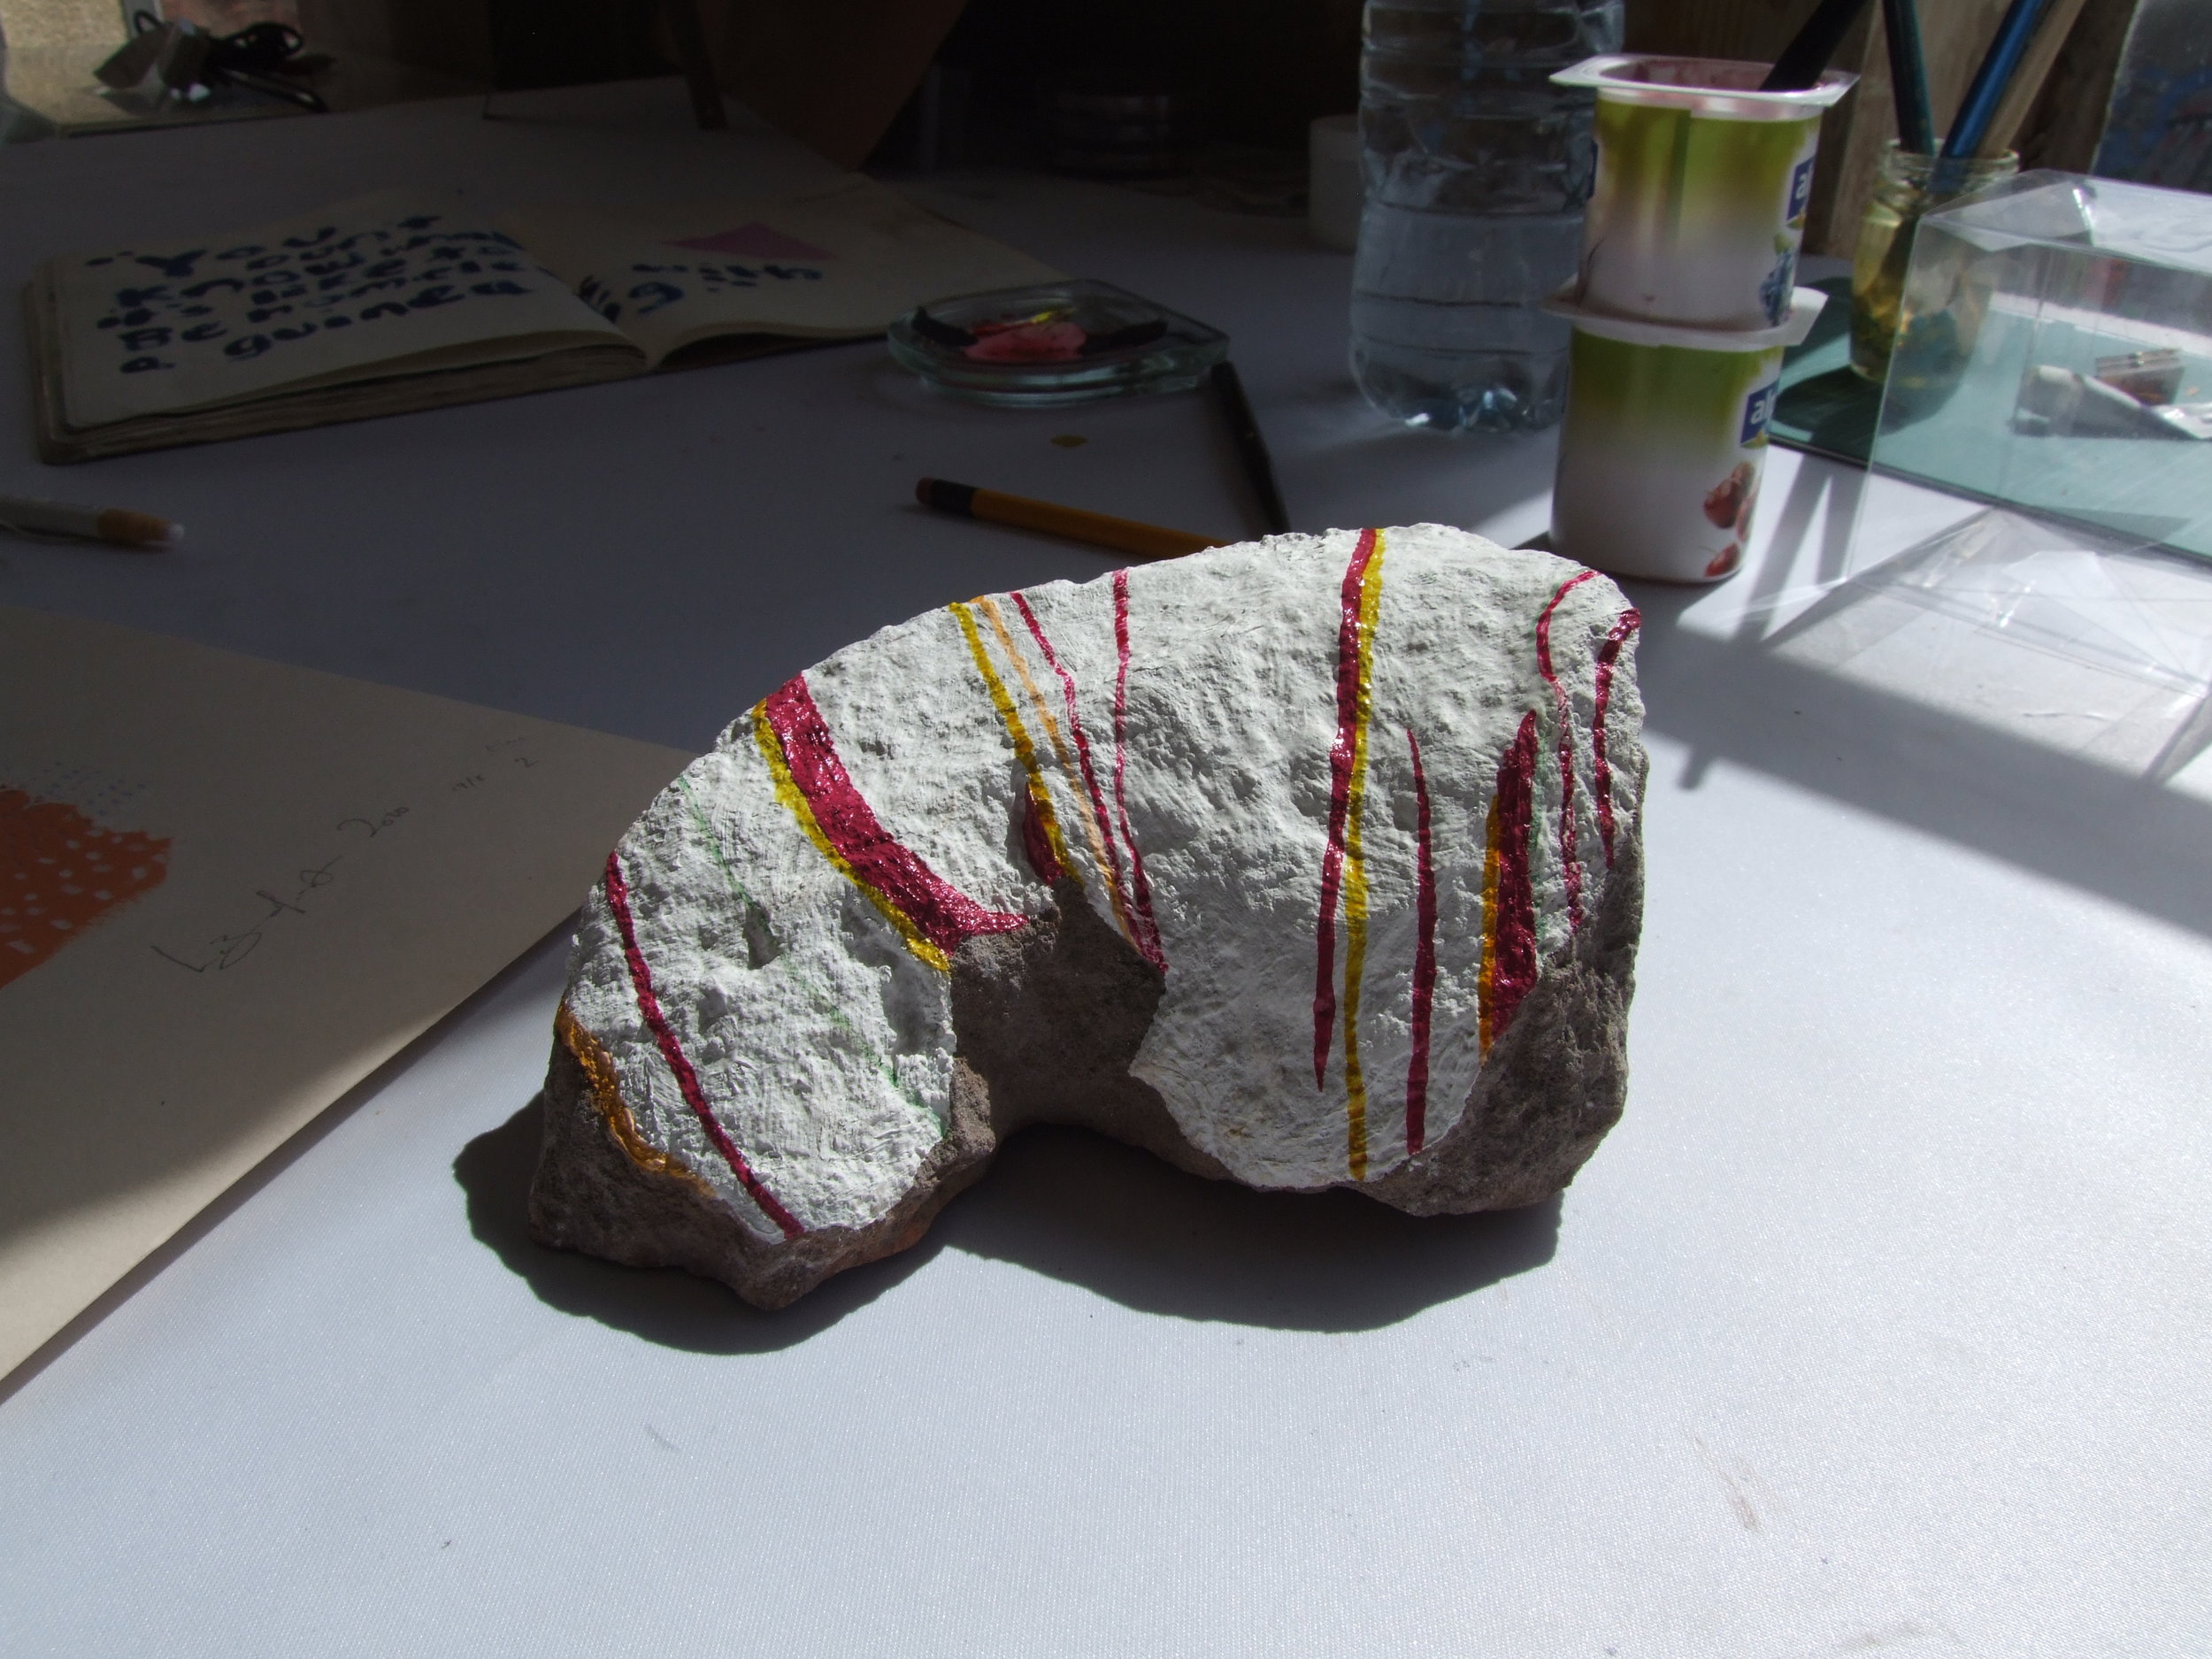 Stone paintings: some stones left over from knocking down a massive wall. Like an attractive paper weight, and a good surface to work with. This one ain't done, I want to fill it with lots of lines, like a precise Davenport!
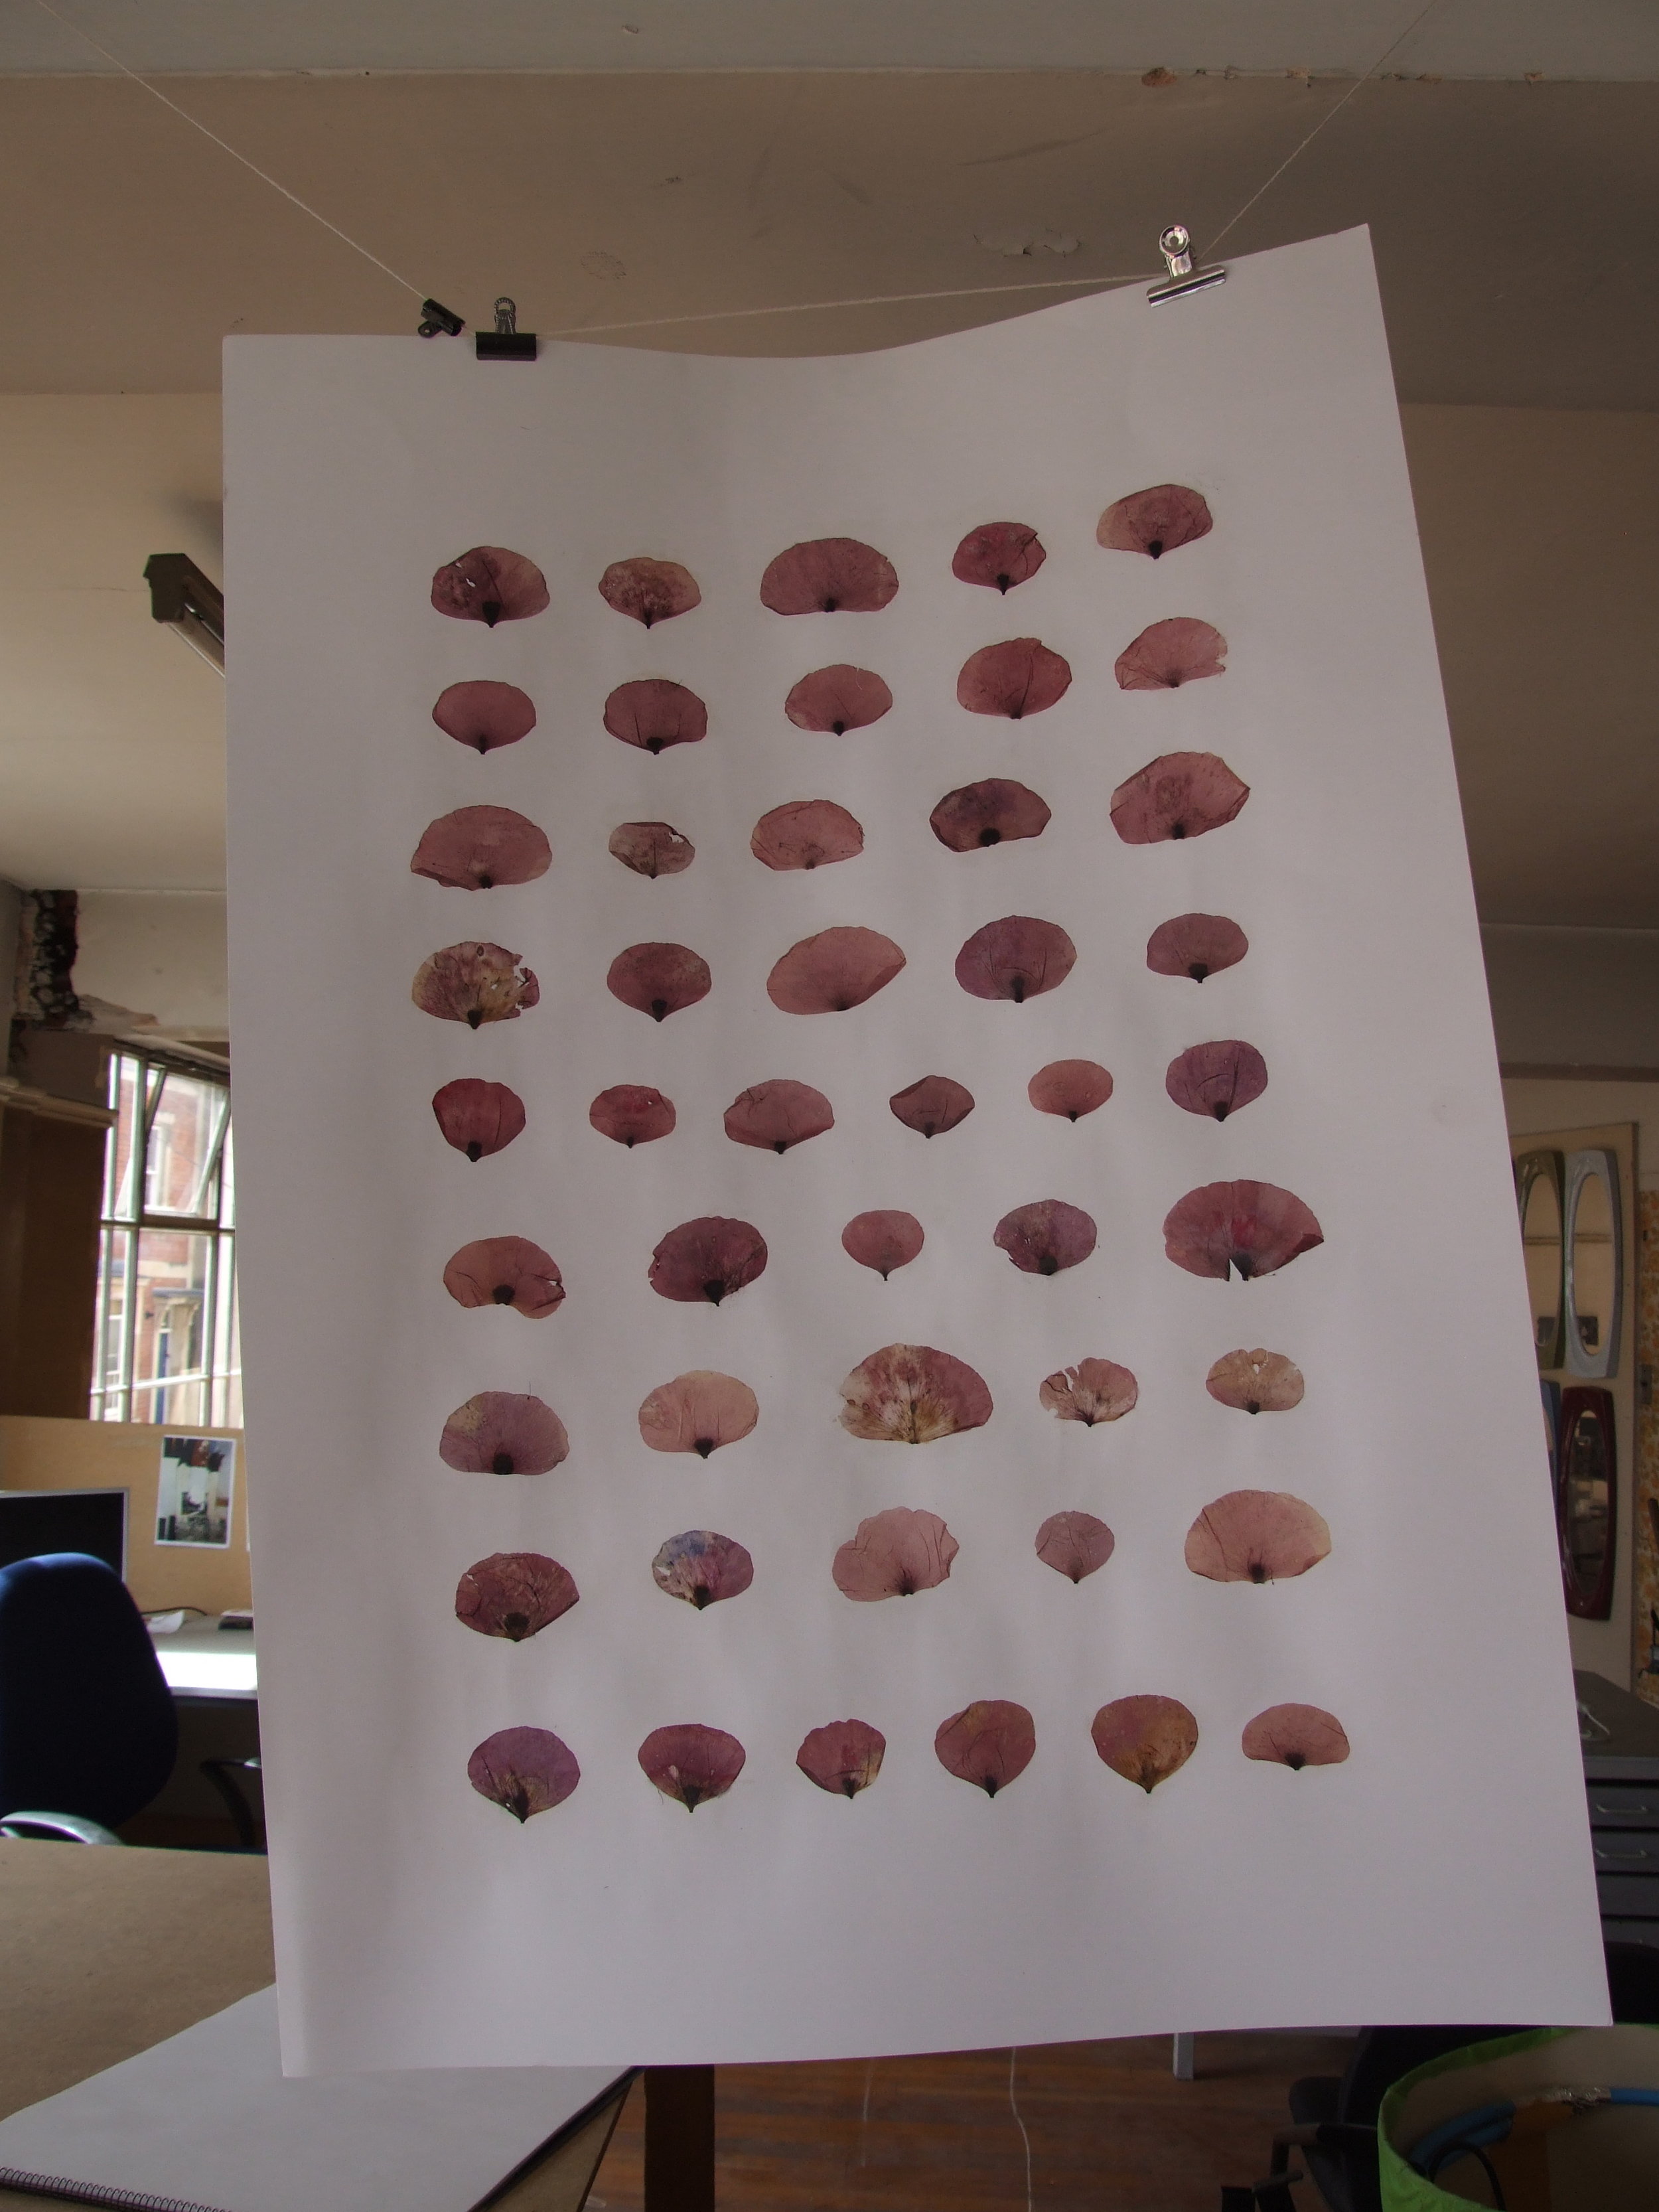 Poppies: after collecting them for years and years, I'm at stage one of experimenting with my collected poppy petals (thousands) but this trial looked a bit Ikea - not quite what I'm going for, but maybe people would purchase?
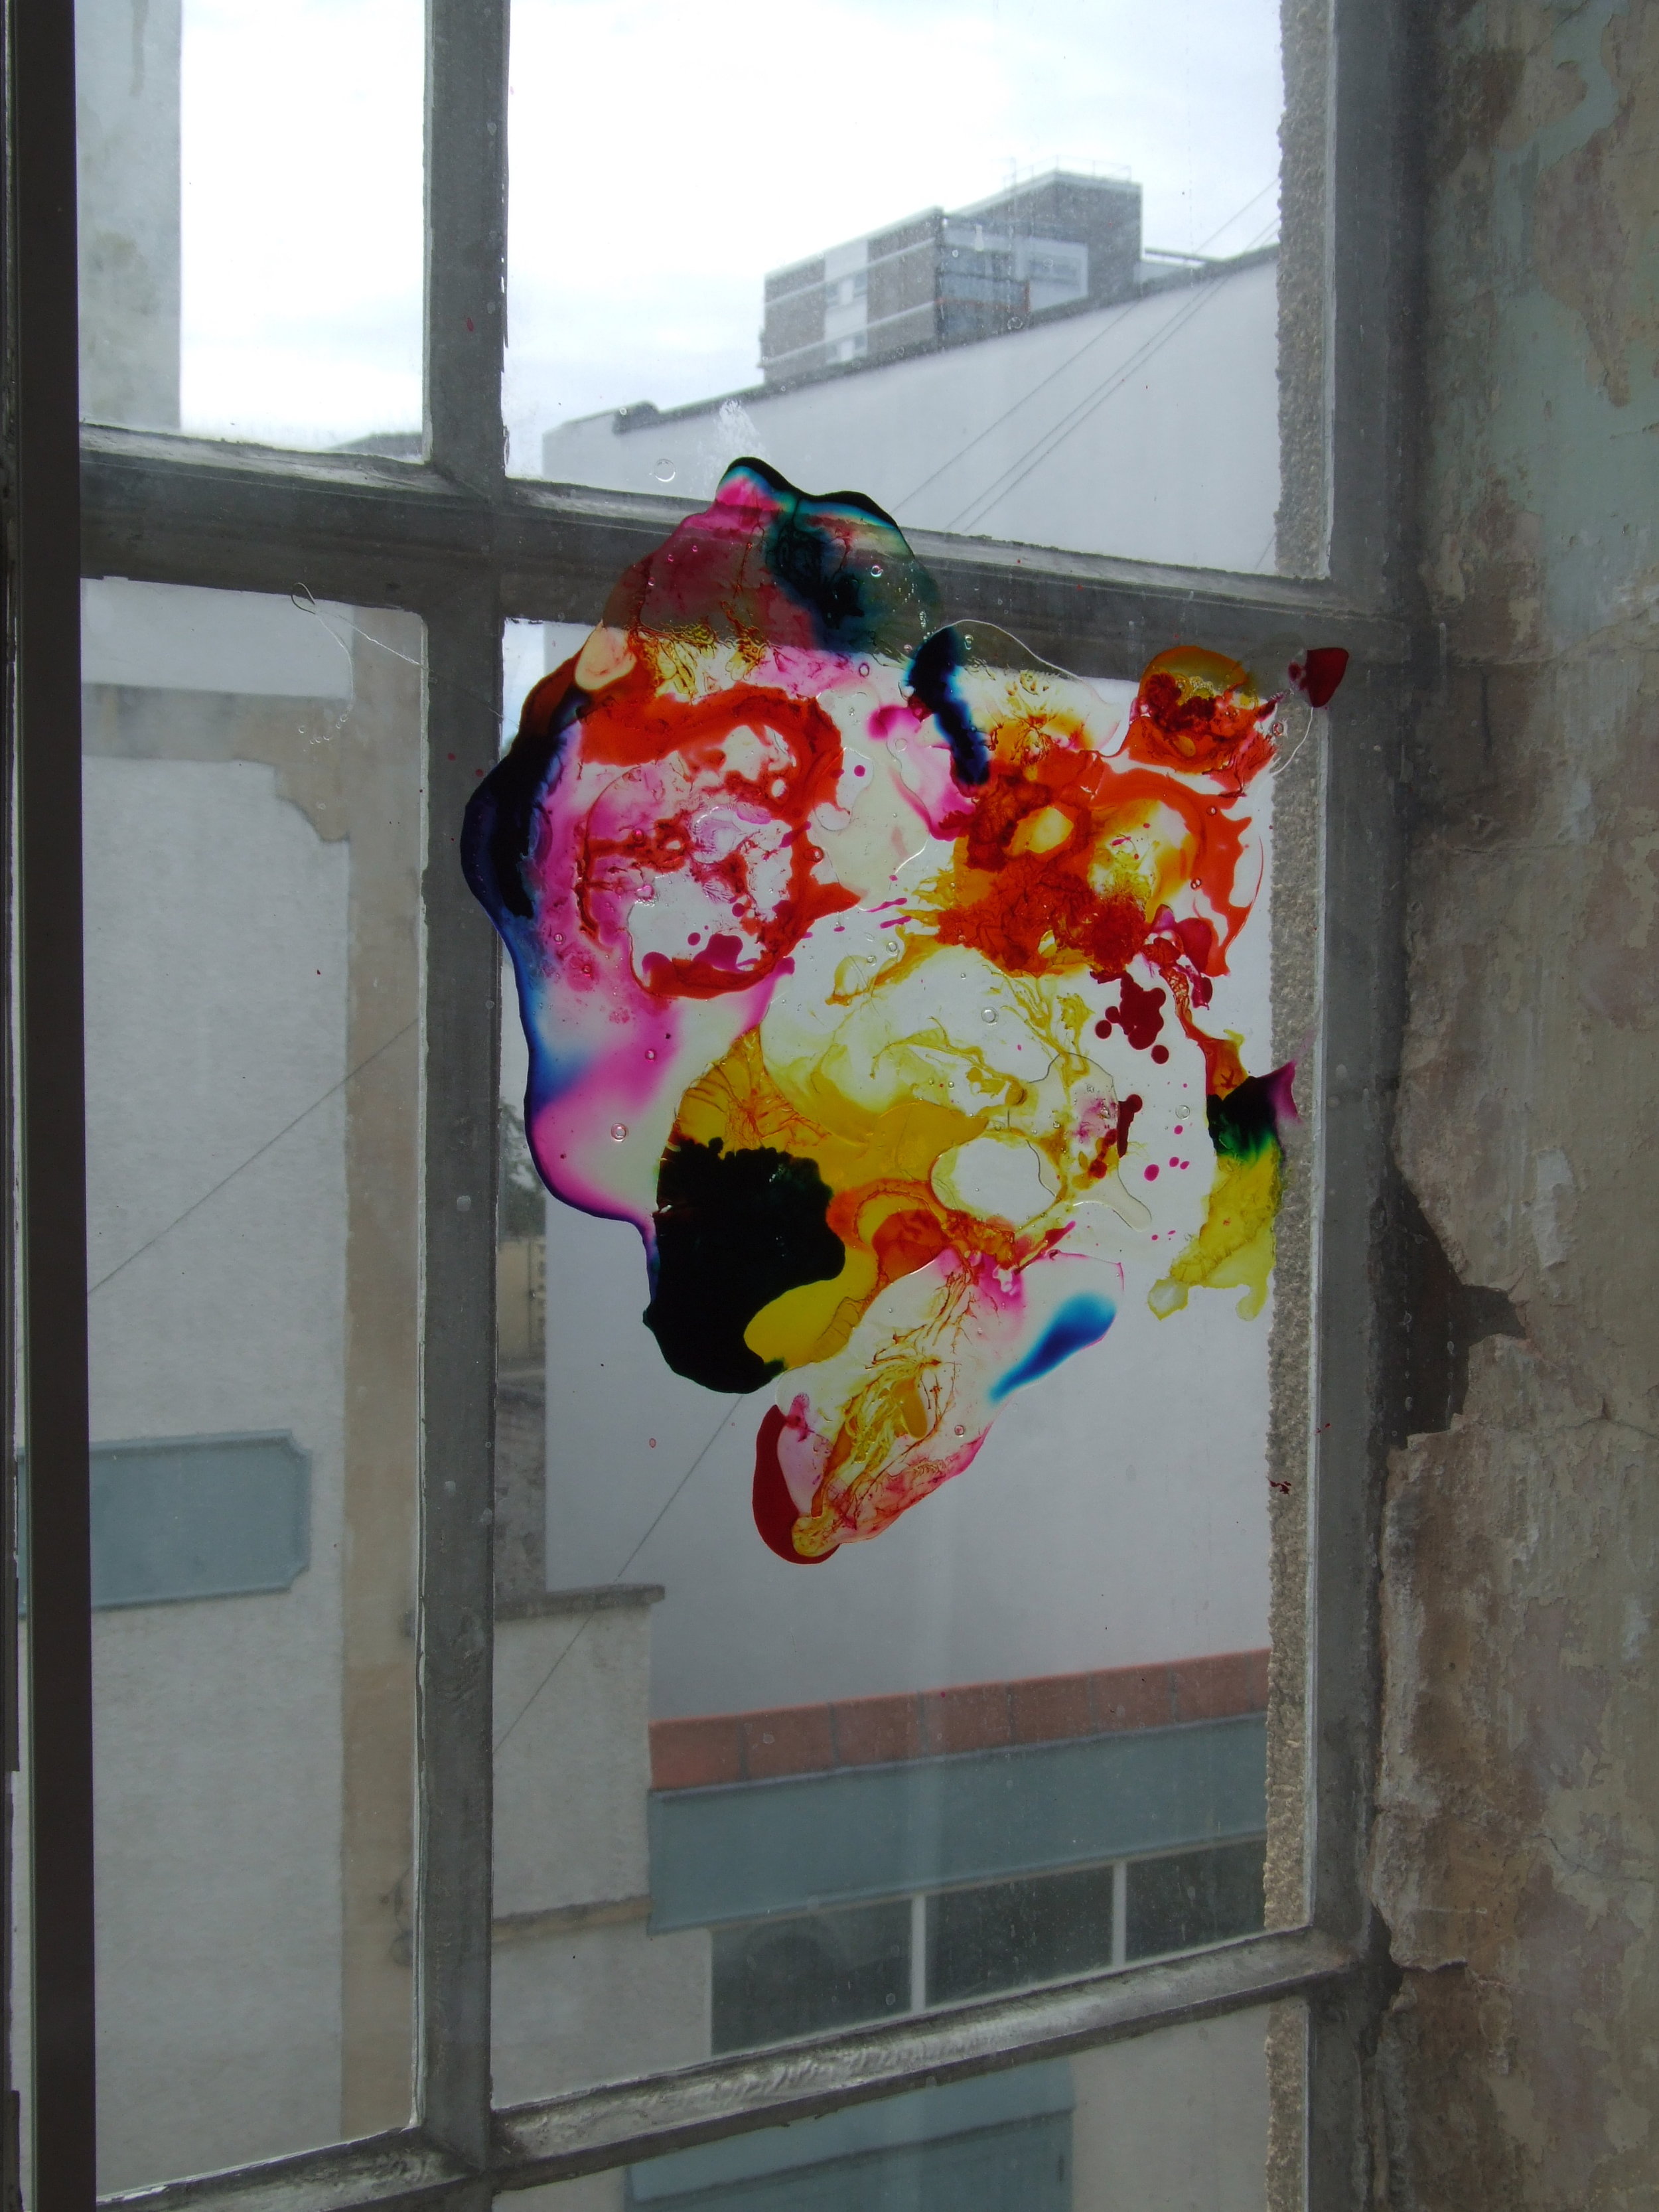 Inky shower door: Better than glass because it's got edges you see. Like my glue mould work from a couple of years back, I'm not working in ladles any more, but instead I'm using the flat surface. working with Drawing inks and clear glue (not pva!) I'm going to be adding lots to this. It takes a long long time to dry, so it's another ongoing thing.
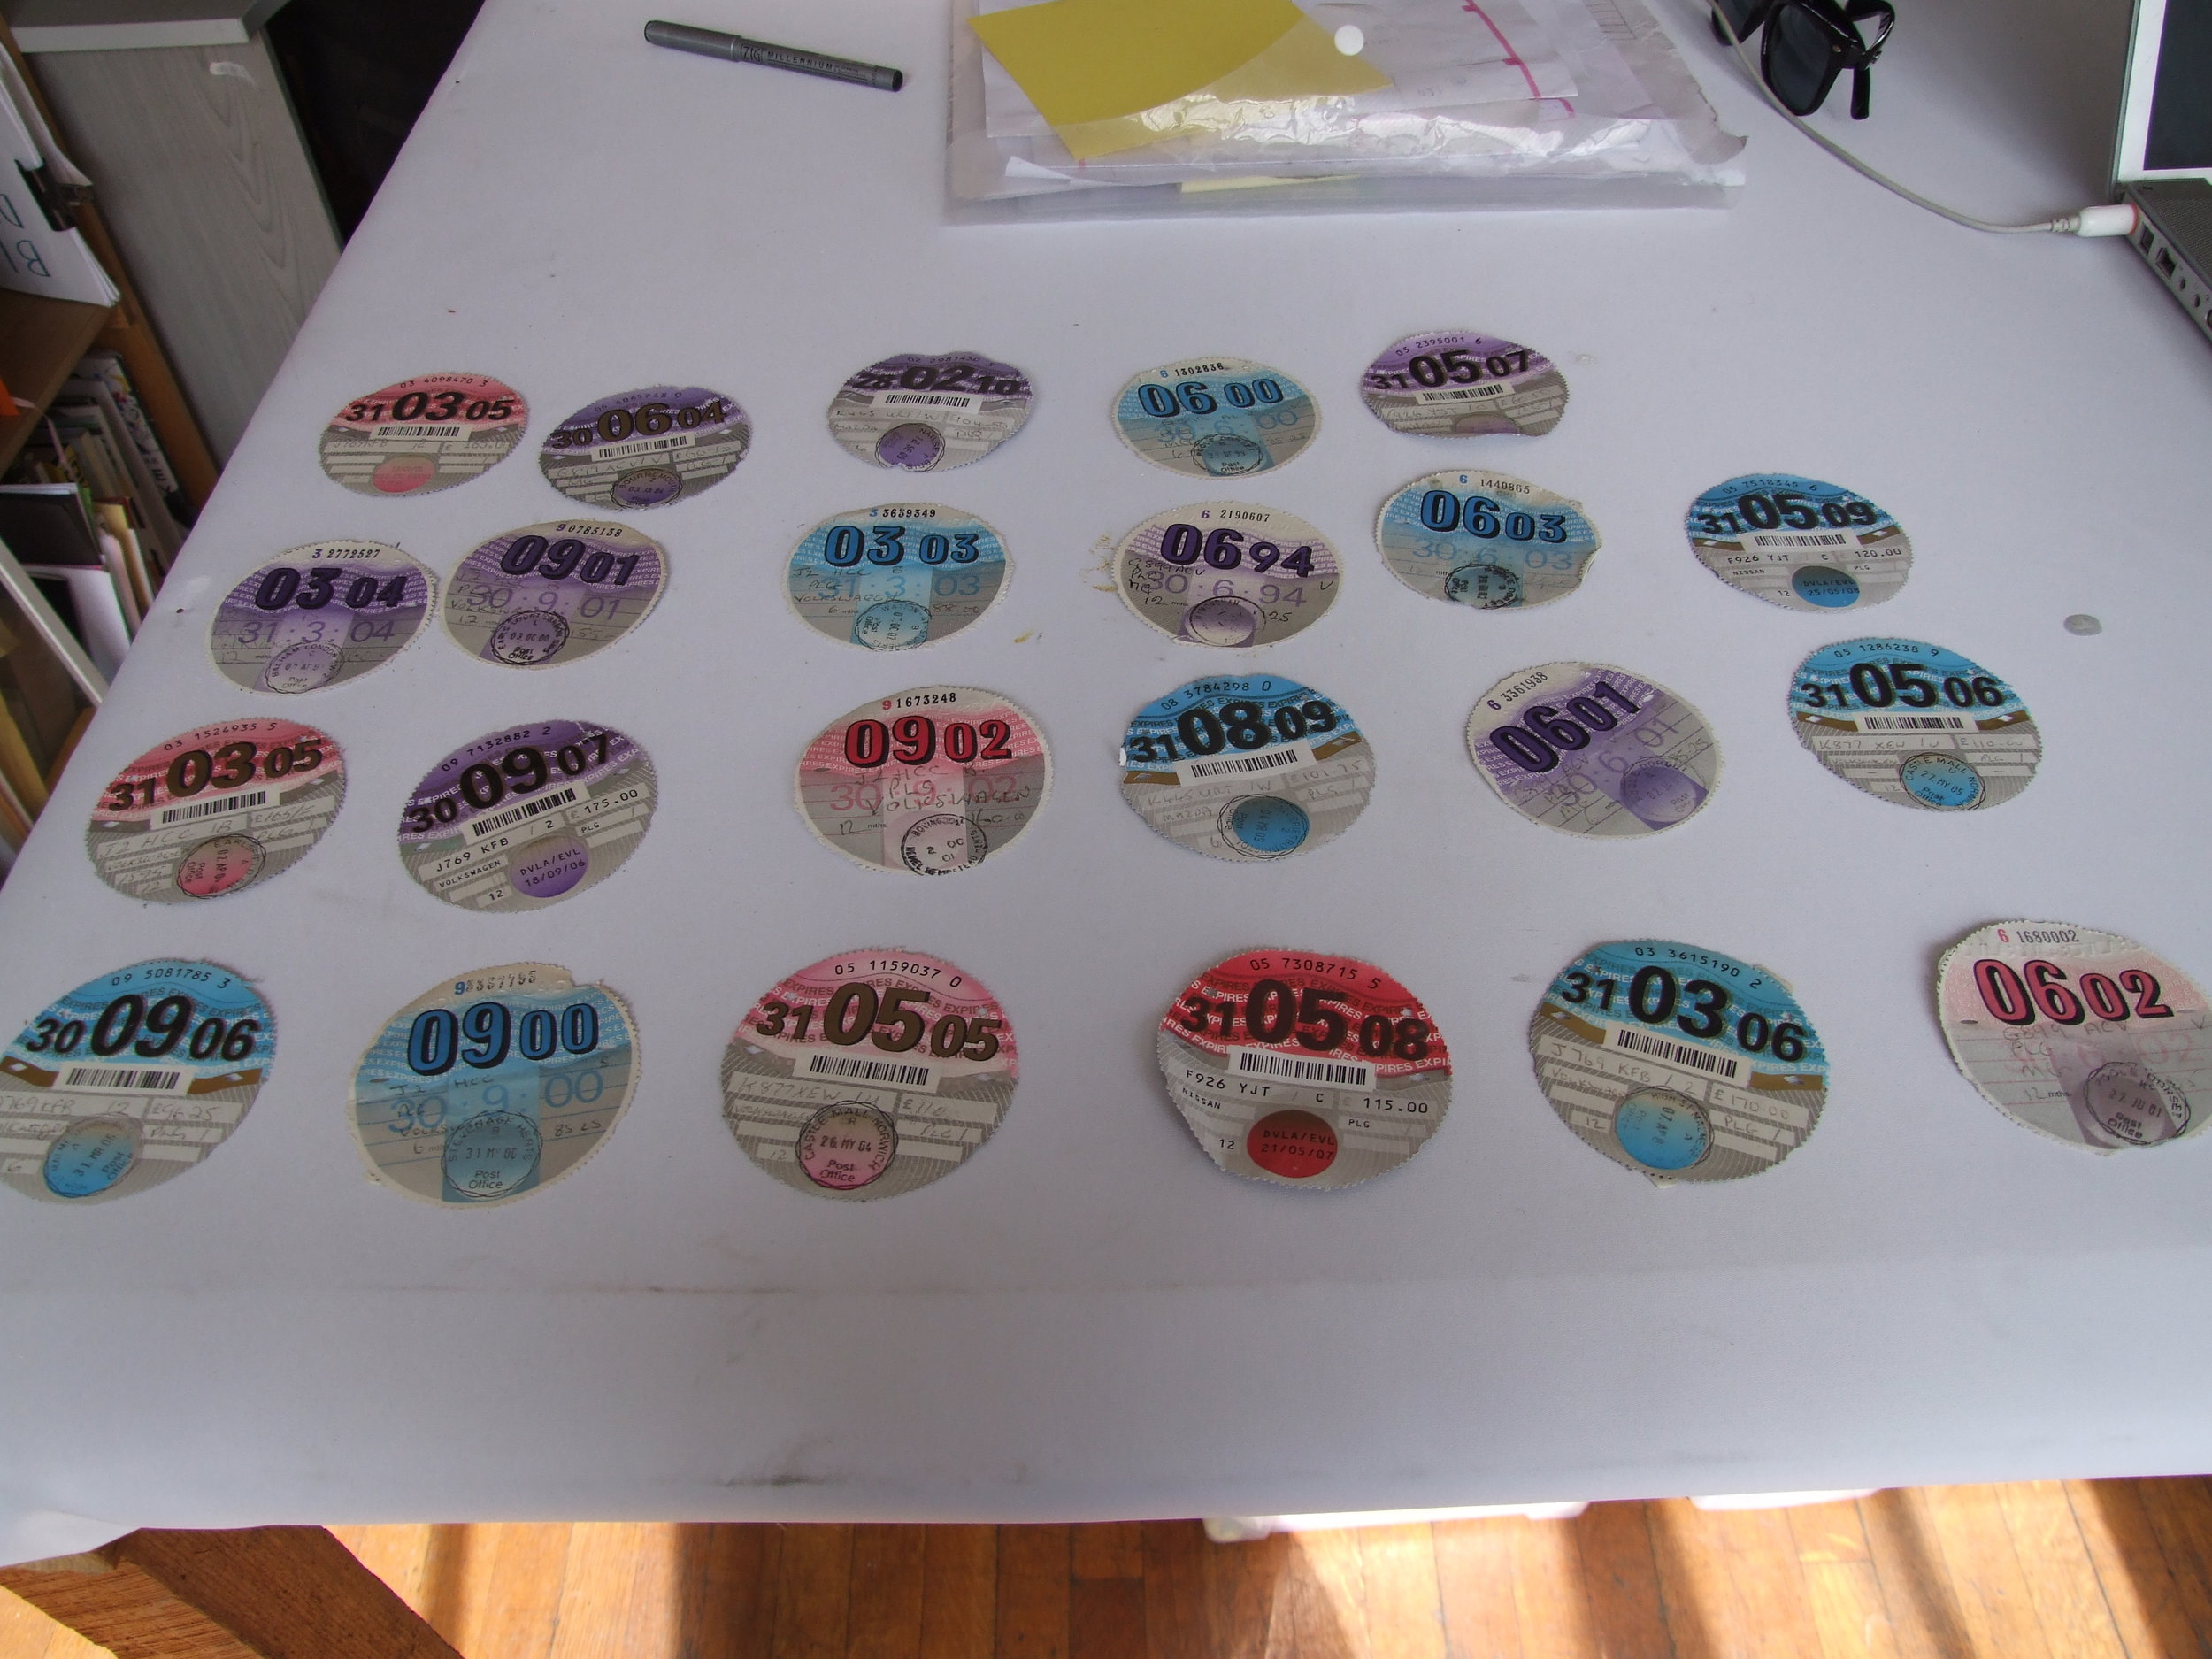 Tax disks, another thing I've collected long-term. Scavenged from scrap yards, it's about time I got them out and made something with them. I'll start by plonking them on my desk.
Know someone who's getting married next year?
England is getting a treat! Jel Photo are returning to the UK for a little trip somewhere around July/August 2012. They are a husband and wife team based in Auckland, New Zealand. The pair have the most incredible skill at photographing weddings and their wedding photography has been featured on Style Me Pretty, Polka Dot Bride, Boho Bride & Magnolia Rouge wedding sites. They have done plenty of international weddings and love the whole experience.They are not charge anything extra for their flights, just their normal photography rates. You'd ideally be located in Dorset or Hampshire, but it's no issue if you're not. In fact, they are even stretching this opportunity to the rest of the world (ideally Dubai, LA, Japan, which are all en-route to the UK when flying from NZ)


Design, Interesting and Inspiring, Light Box, Photography
Lomography 10 Golden Rules
Just made this, a poster of Lomography's 10 Golden rules to use in the Light Box shop for the Appreciation of Beauty workshop, where participants get to use Lomo Cameras (Fish Eye, Mini Diana and Actionshop Flash) to take photographs. I aways knew of the 10 golden rules, but making this here poster just refreshed it all for me, feeling very inspired!
Another submission to Things Organized Neatly
Time to submit again to Things Organized Neatly, that wonderful blog curated by Austin Radcliffe.
Have a look at the Twitter too.
Here is something I created whilst in New Zealand last year. Amazing coloured shells, found on the beach. Made in collaboration with Eleanor Gannon.
Sailing and Trailing
Fings wot I found
Peter Hovey's Love Blog -
http://kissssing.blogspot.com/
Photographs of people kissing / in love / together
Downtown From Behind - http://downtownfrombehind.tumblr.com/Creative types riding their bikes around downtown New York City. (VIA Cup of Jo http://joannagoddard.blogspot.com/ )

Jessalyn Aaland -
"J
essalyn Aaland
is an artist, writer, musician and teacher based in Oakland, California. As an artist, she works primarily in collage, using stickers and found paper materials to create dreamy, utopic landscapes of human and other communities."
Photographs from my walk
Three old Polaroids
Interesting and Inspiring, Photography
My Week in Pictures
So I'm now back to work! The family I nanny for a bit are home from their month long holiday, and Light Box is back after it's month off too. I had a lovely week back home in Bournemouth, seeing my brothers and parents.I'm really happy that I took my camera and focussed on taking lots of pictures last week. I had a lovely time on my dad's boat, snapping away and making us super-noodles whilst he fixed something, and I took some shots of a very old greenhouse at my brother's next-door-neighbours in Wimbourne.
A very old green house
Love this plant - the one which attracts all the butterflies. Budlia?
Space-age mushrooms. Love the color of them
Hello greenhouse again
What is it?
Tallest mast in Keyhaven, Lymington
Pretty patterned rope
The trampoline part on the catamaran
Big light
Speckled mouldy mastic
Keep off the sea
Lovely colored buoys
Old boat in need of love
amazing colors
Just Lucy, just me
20 eggs
20 egg shells ann squished together (vary satisfying and sensual)
Party in the bath
Smoke in the eye
House on the hill at Branksome Beach, Bournemouth
Sea cam
Majestic Molly (who swam for the first time that day)
Ben and his brolly
My niece and nephew being gangster
Beautiful Bethany
Lovely seaside
Food, Organisation, Photography
Eggs, Cider, Finger
Summer Wedding
Hello me
I helped out with a wedding recently, a semi wedding stylist if you will. Main jobs were making cake stands and designing the look of the cake table, (the bride asked every one in her book club to bake a cake each, instead of the regular wedding cake) creating the place settings and designing the table plan.
Table Plan
I hand-cut everyone's initial and stuck them onto the plan with velcro - this made it easy to make last-minute changes to the seating plan if guests couldn't make it. They chose trestle tables - with couples sat both opposite and next to each other. I was hoping that the plan would spell out something, but it didn't - not enough vowels. I would like to make something out of the letters, as a post-wedding present.
Cake table
The whole day was a dream. Bristol Florists
worked hard on the flowers, they were gorgeous too - some wild flowers, all seasonal and locally grown.
Looking for a photographer in Bristol? All the above photographs were taken by Bruce,
He also photographs the Invisible Circus lots, so if you've ever been to one of those nights, you should have a look and see if you can spot yourself in the galleries.
Old Family Slides
Lomo's are not broken!
Elena Pop 9
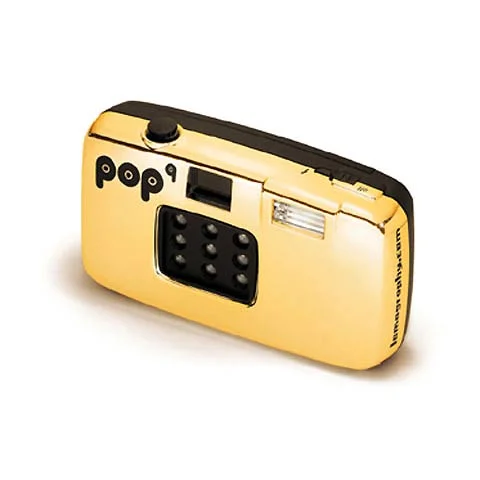
It's almost a shame that when you get your film developed at a photo developers, you have the choice of getting a CD for an extra £1 or £2. I can never resist, and it saves my time scanning. With the film I got developed from my Pop 9, I got the CD, and then cut up some of the prints, like this unflattering pic of Elena. Sorry Elena! She is the wrong way round too, but I like it.
You can buy a Pop 9 Camera for £35 on the Lomography website shop: linked here"One single 35mm shot produces 9 identical images on one print - instantaneously transforming the environment around you into explosions of pattern-repeating pop-art!"
